How to Beemgee: Features and Functions of the Plot Outliner
Outlining a story means developing the characters and structuring the plot.
Beemgee will help you outline your plot using the principle of noting ideas for scenes or plot events on index cards and arranging them in a timeline. This is a separate process from actually writing the story. Most accomplished authors outline their stories before writing them, because it saves rewrites later.
Find a video here.
In this post we will explain –
- How to create event cards
- Sorting events into the chronological and narrative orders
- Creating story attributes and assigning them to events
- Highlighting and filtering attributes
- Working on characters
- How to save your outline
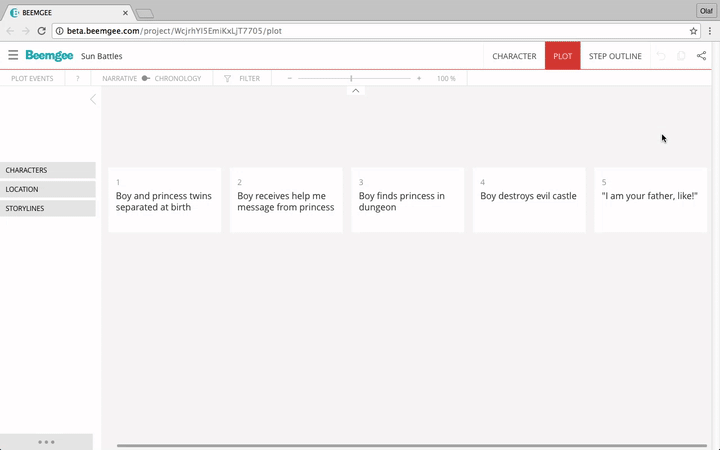
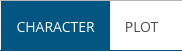
The Beemge author tool is divided into three separate areas, PLOT, CHARACTER and STEP OUTLINE. You navigate them easily in the top menu.

Important note: Make sure to stay in the same browser window in whichever area you’re working. Having one project open in multiple windows may result in some of your input being lost.
How To Create An Event Card
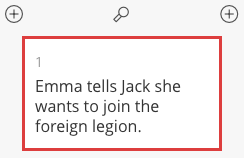
First, click into the white card you see top left of your workspace and briefly note an event or scene. You don’t need to fully describe the event, just give it a name or identifier so that you know what plot event this card stands for. Press enter/return on your keyboard to save your plot event. To add more plot events to your outline, create new event cards. Click into an existing event card and press one of the plus signs that appears above it. Clicking into a card and tapping one of the plus signs makes a new, empty card appear.
Add as many event cards as you need for your story. You’ll need at least three event cards before you can create the chronology of your events as well as a narrative structure.
Since a scene might comprise several events relevant to the plot structure, it’s up to you if you want to use one event card per scene, or break the story down into plot events.
Beemgee arranges the event cards in a horizontal line, however wide your screen may be. Use the zoom slider to adjust your view.

Set the Timeline switch to “no” if you want a standard view.
Sorting Events Into The Chronological Order
The chronology is the order of events in linear time, one after the other.
Even in a straightforward linear story – for example, a story that does not use flashbacks –, there will be events relevant to the plot that took place before the first scene of the story. These are events that the characters look back on at some point, or that in some way determine what happens in the story itself. So the chronology of plot events usually begins before the story does. While the chronology may be different from the order in which you want to relate the events, it is vital that the chronology makes sense.

So save the chronology of the events in your story. With the narrative/chronology switch set to chronology, drag and drop the events into the order they occur in time. The oldest event should be at the far left. You can change this order any time.
Sorting Events Into The Narrative Order
The narrative of a story is the sum of events that make up that story in the order they are related to the audience or reader. It is intuitively the way most authors start thinking about their tale. Often, things have already happened before the first scene of a story – things that the audience doesn’t get to know about until later. The author will reveal such relevant events at the right moment in the narrative. So narrative and chronology are two different sort orders for all the events that make up a story. In Beemgee, you can save both sort orders, adjust either order without affecting the other, and switch between them.
So now with the narrative/chronology switch set to narrative, sort the events into the order in which you want to tell them. This is the narrative of your story. The kick-off event of your story – the first event of scene one – should be at the far left.
Delete event cards (from either sort order) by dragging them into the bin that appears above the timeline when you drag a card. Attention: Once deleted, you will not be able to retrieve the card or any of the input associated with it.
Creating Story Attributes And Assigning Them To Events (Functions In The Sidebar)
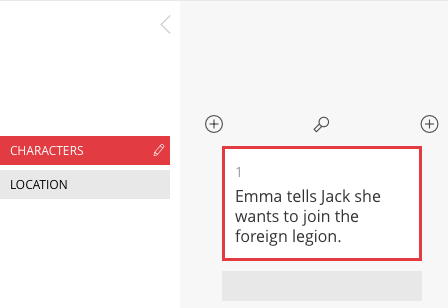
Use the sidebar to the left to add and edit characters, storylines, and other information pertaining to your event cards.
Click the arrow > icon to the left to access the sidebar.
We call each function an “attribute” or modus. So CHARACTERS is an attribute, as is LOCATION or STORYLINES, etc. Click an attribute button to set it to an activated state. It will turn red.
When, for example, the CHARACTERS attribute is active, a datagrid featuring all your characters is visible beneath the event cards. De-activate the attribute (and datagrid) by clicking the attribute in the sidebar. The button will turn grey.
You can add your input to and edit an attribute by clicking the pencil icon. For example, double-click into a grey text slot in the sidebar below the active attribute in order to enter a character name. To change names you have already entered, just double-click them.
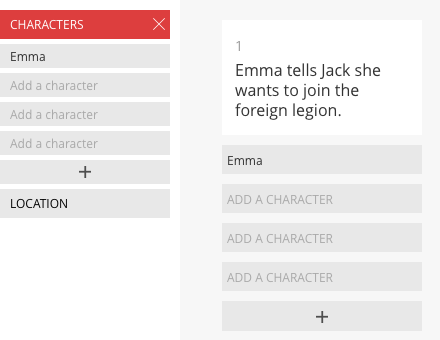
Press the plus button to add a character.
Drag a character in the sidebar and a bin will appear for you to delete this character. Attention: Deleting a character here will also delete that character from the CHARACTER builder (about which more below)!
Press the x when you have finished editing.
Highlighting And Filtering Attributes
You can highlight and also filter any input you make in an attribute. We call the each input a “dimension”.
To check the dispersal of the dimensions within an attribute – for example to see how often a particular character appears in the story –, select that dimension from the list.
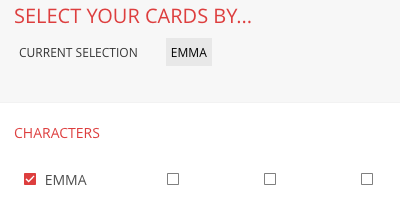
Tick a box next to a character and all the event cards featuring this character will be highlighted in the timeline of event cards.
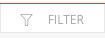
You can then choose to see only the event cards thus selected. Use the selection switch if you want to see only the highlighted cards. Use this function to concentrate purely on the selection, which may be all events featuring one character, one place, or one subplot, etc.
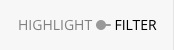
You may combine highlighting and filtering in order to see, for example, all the events featuring one character in one particular location.
How To Save Your Outline
If you have signed up to an account, FREE or PREMIUM, Beemgee saves your project automatically, so there is no “Save” button. Log out and close the project window at the end of each session. The next time you log in, go to the global menu top left next to the logo.
![]()
In the menu you will find “All stories”. Select the project you want to work on.
How To Share Your Outline
Press the share icon in the top menu bar, above right.
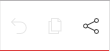
Beemgee has created a unique URL for your project. Want to show your project to someone else? Send them the link. Anybody with the unique link to your project will be able to access your work. Set the permission setting to “view only” or “can edit”.
Working on Characters
Click into the CHARACTER area of Beemgee. Here you can add a character card for each of the major figures in your story. Click into one and use the pencil icon or the single-multi switch in order to get into the Beemgee character-builder itself.
The character builder is about a lot more than characterisation. The plot of a story consists of the actions of the characters. The character-builder is a sequence of questions designed to help you discover the dramatic function of each of your main characters in the story, specifically by defining their actions and the motivations behind these actions. Answer each question carefully and succinctly, and this should help you determine the plot.
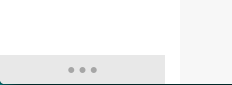
Whether you are in the character or plot area, clicking the three dots at the bottom of the sidebar will take you to a window where you can make all available attributes visible in the sidebar. In the character-builder, that means one attribute per question.
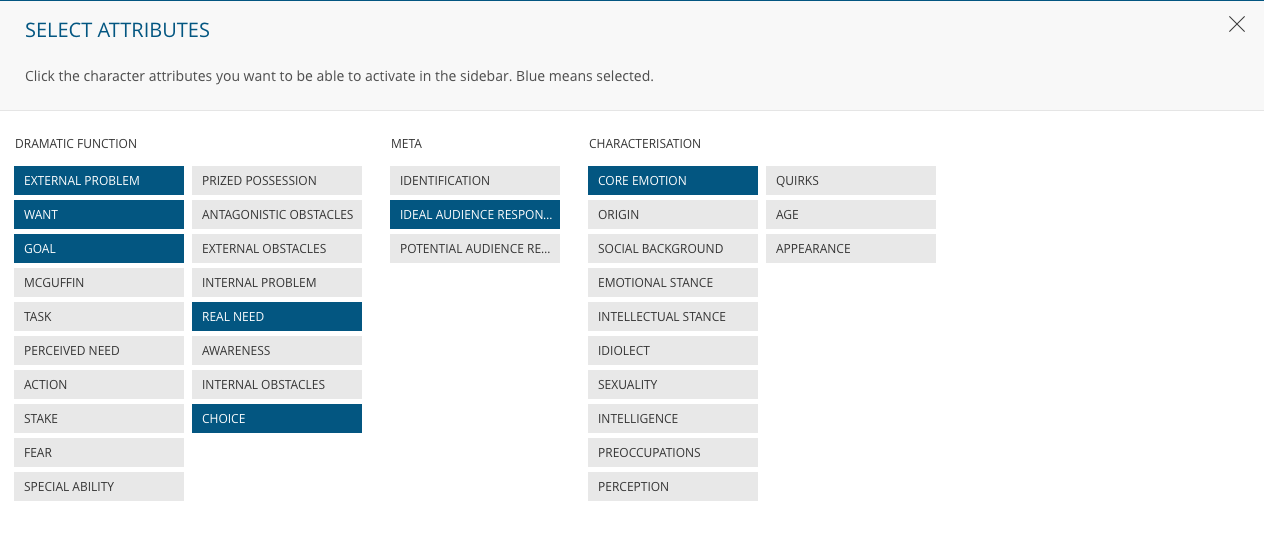
Make your selection of which attributes you want to be able to activate through the sidebar, then click the x to exit this page.
For more on how to develop your characters with Beemgee, click here.
Anywhere in the Beemgee tool, consult the in-app help texts under the | ? | button in the tool bar to find out more about an active function.
Have fun creating the perfect outline.
Happy outlining!